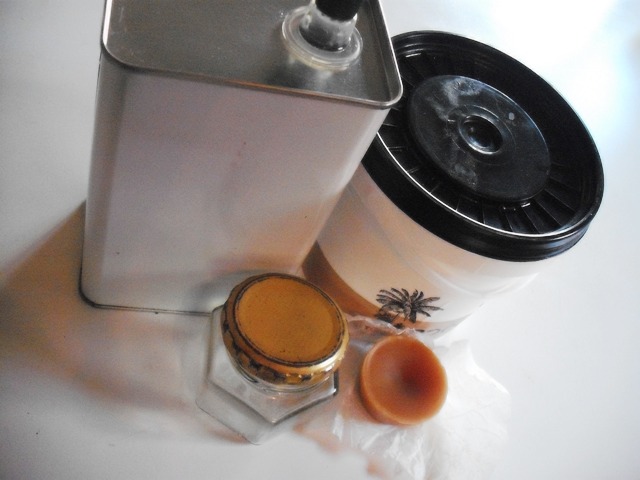
One of the main reasons I wanted to introduce you to beeswax is so that you can use it to make lip balms. I hope I have convinced you that beeswax is worth using despite its slightly special requirements. I have explained why we’d want to use it, how to melt it and mix it, and how to clean up after using it. I think that now we are ready to start making stuff with it! Lip balm is a great place to start.
Beeswax is what gives lip balm its firmer consistency, enabling you to take it out in your bag or pocket on a hot day or leave it on your windowsill without worrying that it will melt or leak or go rancid. It also makes it water proof, keeping it in place on your lips for longer and protecting them from drying out. And of course it softens, protects and heals.
There are many, many ingredients that you could add to your lip balm and I’d encourage you to experiment and come up with your own perfect recipe, or a range of them. But here is a good one to get you started, and if it is all you ever need, then that is great too.
So, so simple lip balm / healing salve
This is a great basic lip balm recipe that you can adapt as you like. With three ingredients and three steps, it certainly is simple. It also makes a very good healing salve for minor wounds, stings and bites. It works well as a cuticle moisturiser, and can also be used as a protective, restorative dry skin balm.
You will need

basic balm ingredients
- 2 tablespoons beeswax
- 3 tablespoons coconut oil
- 3 tablespoons olive oil
What to do
- Melt the beeswax, together with the other ingredients, in a double boiler or similar set-up (as described in my post on melting beeswax), stirring continuously, until all are completely melted and incorporated.
- Pour the mixture into tiny jars or whatever containers you will use to store your lip balm / salve. If you are making one portion, you can make it directly in the container you’ll be storing it in, as I have done here.
- Leave to set for three hours (or put in the fridge to set much more quickly) – do not disturb.
Recipe variations
- Replace 1 tablespoon coconut oil with 1 tablespoon shea or cocoa butter. Or you can swap it entirely. (Always add shea butter after the beeswax has melted as prolonged heat can cause it to become grainy.)
- Replace 1 tablespoon olive oil with 1 tablespoon sweet almond, avocado, sesame or grape seed oil. Or you can swap it entirely.
- Add a few drops of an essential oil/s of your choice, such as rose geranium or sweet orange. Peppermint is a winner for lips, as you’ll see in tomorrow’s recipes. If you are making a healing salve, adding an oil such as lavender, tea tree or rosemary will boost its disinfectant and healing power. (I was making a potent healing salve using 10 drops each of all three of these essential oils). If you do add any essential oil, first remove the basic mixture from the heat and allow it to cool slightly. If you add essential oils while working over heat, the volatile oils will mostly vaporise and be lost into the air.
I love this basic recipe, and you can really play around with it. Consider it a starting point. Changing the ratio of beeswax to other ingredients will adjust its consistency (less beeswax = softer; more beeswax = firmer). Different butters and oils each have their own appeals and characteristics, as do essential oils. You could also try infusing your oils with flower petals or herbs.
Interested in Advertising with Us?
Promote your brand and reach an engaged audience who values quality, sustainability, and healthy living.
Contact us to learn about our advertising opportunities.
CONTACT US
