If you intend to use beeswax often, it is worth having a separate set of utensils designated for the purpose. This means you won’t have to be a perfectionist when it comes to getting every last speck of wax off your favourite pot, jug or spoon. That said, I don’t have a separate set myself, I just clean up. Cleaning up after using beeswax is really not as terribly time-consuming as this post may make it sound. I just want to make sure you have all the information you may need so you don’t get frustrated or put off by not being sure how to tackle cleaning up.
When I spoke about beeswax before, I mentioned that it is a tenacious wax that is pliable but pretty solid at room temperature, and takes a little time to melt, at a temperature of around 62-64 degrees C. This means that trying to wash it (or mixtures containing it) off things in a normal sink of dishes is not going to meet with great success, and even your dishwasher may struggle. You also don’t want beeswax getting down your drains. But there is a solution! The secret? Boiling water (again). Here is how.
By the way, this method is also great for cleaning up old gunky containers, that previously had cosmetics containing beeswax in them, and which you may want to get clean to store your own homemade concoctions in.
You will need

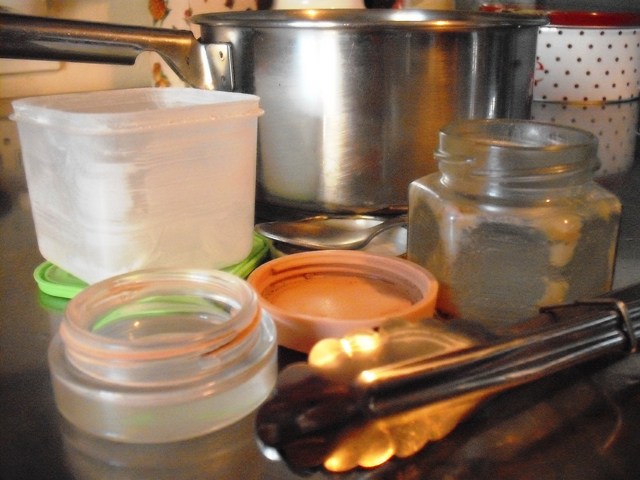
stuff for cleaning up beeswax
- An old rag – this needs to something you are happy to part with at the end of the clean-up (or to keep for this purpose only). Just keep using the same old cloth till every piece of it is waxy, then say goodbye. You can also use paper towels. Just remember to compost them afterwards.
- Your gunky stuff
- A metal pot
- A metal spoon
- A pair of tongs
What to do
Get hold of a pot that is big enough to fit all the stuff you want to clean inside. Fill it with water and get the water boiling.
Meanwhile, if your waxy utensils or containers have a residue of any softer beeswaxy mixture in them, it is a good idea to wipe off as much of this as you can with a paper towel or an old rag before you begin the final clean. You won’t be able to wipe off any pure beeswax at this point as it is too hard.
Pop all the stuff you want to clean into your pot of boiling water and leave it there, properly submerged, for about three or four minutes. This is the key, simple step.
If wax floats to the surface of the water, skim it off with a metal spoon and immediately wipe the spoon clean with a rag as you go. (You don’t want to pour this stuff down the drain.)
As you can see, I use a small stone to hold down any item that wants to sneak up to the surface.
Use a pair of tongs to remove the hot items, one at a time, from the simmering water. The wax will now be nicely softened and you will easily be able to wipe it off cleanly with your rag (or paper towel). You can use an ear bud (Q-tip) to get it out of nooks and crannies. If any still remains, put the item back in the hot water to soften the wax and repeat.
When all your goodies are clean and shiny, pour out the water (having skimmed off any floating wax with your spoon first). Immediately wipe the inside of the pot to get rid of any beeswax residue while it is still soft.
If you have got beeswax on counter surfaces, a cloth dipped in hot water is often enough to soften it enough to loosen it. If not, you may need to apply heat from a hairdryer to soften the wax enough to wipe it off. Often beeswax will just come away cleanly with a little rub or a gentle push with a blunt knife once it has cooled. It depends on your surface.
For spills of mixtures with only some beeswax in them, which will be more buttery than hard, a hot damp cloth should suffice. First wipe away what you can with your old rag or paper towel to avoid getting any wax in your drain. Oil dissolves wax far better than water, so you can moisten a rag with oil and use that to wipe away most of a waxy residue before using your hot damp cloth for the last bits.
Try not to work with beeswax on wooden surfaces or using wooden utensils as it is much harder to get the wax off these, and you don’t want to be submerging wooden implements in boiling water for any length of time.
There you are. Done. See, it wasn’t that bad.
Interested in Advertising with Us?
Promote your brand and reach an engaged audience who values quality, sustainability, and healthy living.
Contact us to learn about our advertising opportunities.
CONTACT US